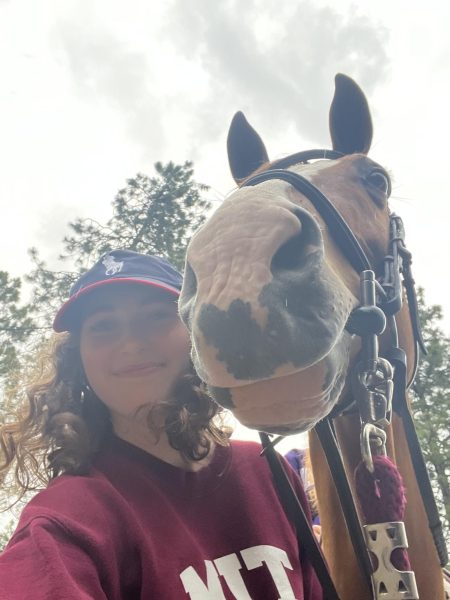
I taught myself to knit in first grade, back when my school bus stop was also my local library. For no apparent reason — at least none that’s clear to me now — I’d go in while I was waiting to be picked up and find all the books I could on knitting. Eventually, I joined a group of very supportive older ladies who taught me everything the books couldn’t. Though I’d lost my passion for knitting a bit later and set down my needles for years, during the pandemic, I picked knitting back up again more seriously. Since then, I’ve made several of my own clothing items and learned to express my creativity through self-made fashion.
I think knitting especially is such an incredible way of making your own clothes because you’re making your own textile out of string, and the possibilities are pretty much endless in terms of patterns, stitches, or anything you can think of. Expressing yourself through personal style is one thing, but knitting can take it to a whole other level; you’re making your clothes fit you and your personality to a T, beyond what any store-bought piece could provide.
I’m going to walk you through the process of knitting a garment from step zero to wearing the garment. I’ve never made socks before, so this should be an interesting journey that we’ll get to experience together. Knitting is all about trial, error, and completely restarting something you’ve spent hours on already, so get ready for joy, heartbreak, and all the trials and tribulations of knitting. If you’re curious about a project like this, I hope this is an excellent guide for you! And even if you’d never dare touch a pair of needles, I hope you’ll find the process interesting.
MATERIALS
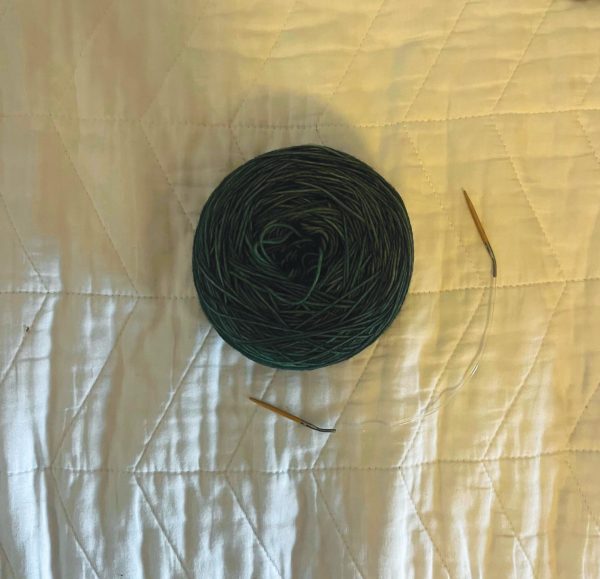
[visual: the materials (duh)]
For me, knitting projects always start with research, and that research usually starts with finding a pattern. Usually, these take the form of written instructions that contain all the info you need to know to create a certain piece. I get a lot of inspiration from social media, and sometimes I’ll (attempt to) recreate things that don’t have written patterns, but for this project, I’m using a sock pattern from Drops Design, which is a massive database of free digital knitting and crochet patterns.
Knitting can be an expensive hobby, but there are ways to minimize the cost. First, you can use free patterns instead of paying for them. Yarn is available secondhand, as are needles, or for reasonable prices in bulk. I try to use yarn and/or needles I already have whenever I can, so I’m using needles I got for a different project earlier this year. The yarn is from Row House, a local small business — so even though it’s a splurge, it’s worth it to support the people behind the business.
CASTING ON & KNITTING IT UP
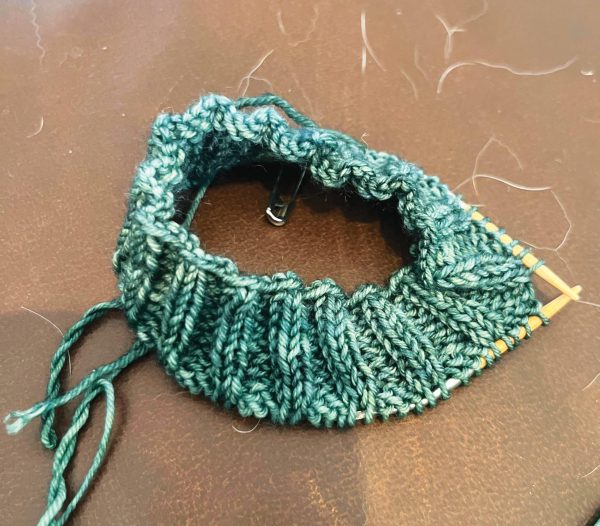
[visual: the start!]
Usually, the day I start a project is the day I work the most on it — especially when I’m dealing with nice yarn or with a pattern that’s easy to follow and repetitive. I’ll just get into the zone, spending four or five hours with nothing but an audiobook and yarn. I watched an Instagram reel once about how to stretch your hands to avoid getting cramps or developing carpal tunnel, so every half hour or so, I’ll take a break to do that.
And so begins the slog. This is the part where you just put hours and hours into it and hope you’re doing everything right. Occasionally, I’ll knit in class when things are more discussion-based, but it’s usually more of a solitary activity for me, often accompanied by a good bit of media. You want something engaging, but not overly engrossing to where you can’t multitask effectively. My go-tos for long knitting sessions include the Mike’s Mic Glee recaps on YouTube, a pretentious literary fiction audiobook (I recently enjoyed “Hello Beautiful” and “The Goldfinch”), and the 1953 film “Gentlemen Prefer Blondes”.
CASTING OFF!!
[visual: the first sock]
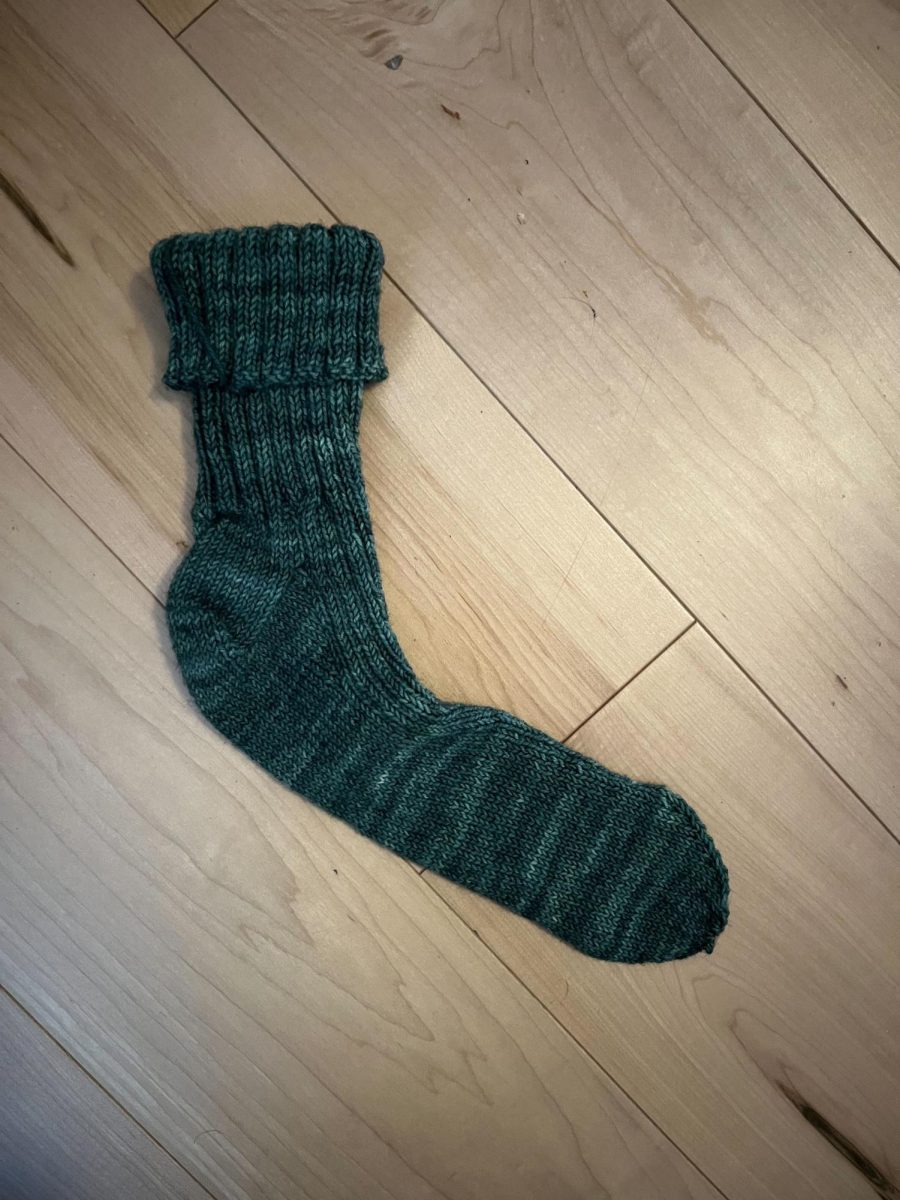
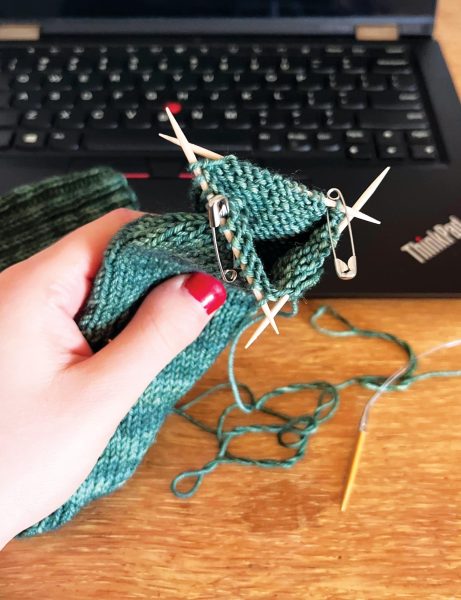
Though I’m very proud of myself for this first sock, I’ll be honest… the cast-off, or finishing of the project, is definitely not my best work. Since I didn’t have the time or energy to go buy the special, tiny, double-pointed needles I needed to finish the toe, I — per my friend’s accidental suggestion — found some toothpicks in my junk drawer and powered through. It worked better than I expected, and I absolutely will be doing it again for the second sock, but to the trained eye, my technique’s a little questionable. I don’t blame the toothpicks for that, though.
SECOND SOCK SYNDROME
It can be hard to stay committed to a project. Usually, my enthusiasm fizzles out unless there are very specific goals and landmarks within the piece that I can aim for. Especially with knitting things in pairs, like sleeves or socks, once you finish the first one, it’s difficult to stay motivated for the second…even when you’re on deadline for a Tatler article about the very project you’re procrastinating on. Still, I’m powering through during this Thanksgiving break to get both socks done before going back to school.
BLOCKING
visual: blocked vs. unblocked socks (not at this stage yet so will add this visual soon!!)
One of the best ways to make knitwear more wearable is to block it — something I was terrified of doing for many years, but now swear by. Basically, you put the stopper in your sink and fill it with warm water, submerging your finished knit piece for about fifteen minutes so it can really soak up the water. Then you take your knitting, wrap it in a towel or two, stomp out some of that water, and lay it out to dry, pinning it in place. The process helps turn the fabric you’ve created into a more supple textile by loosening the stitches’ tension.
WEARING (giving as a gift in this case!)
The socks are now wrapped up in the dedicated Christmas gift corner of my room, ready to be delivered to their lucky recipient. Now, I’m able to check another project off my to-make list, and I’ll have the skills that I learned with these socks to apply to future endeavors. And the process of researching, finding materials, knitting, blocking, and wearing the finished piece can start all over again.

